– Cpanel
To install ionCube Loader in cPanel, follow these steps:
1. Log in to cPanel
2. Go to “Software” section and click on “Select PHP Version”
3. In the “Current Version” section, click on the “Switch to PHP Options”
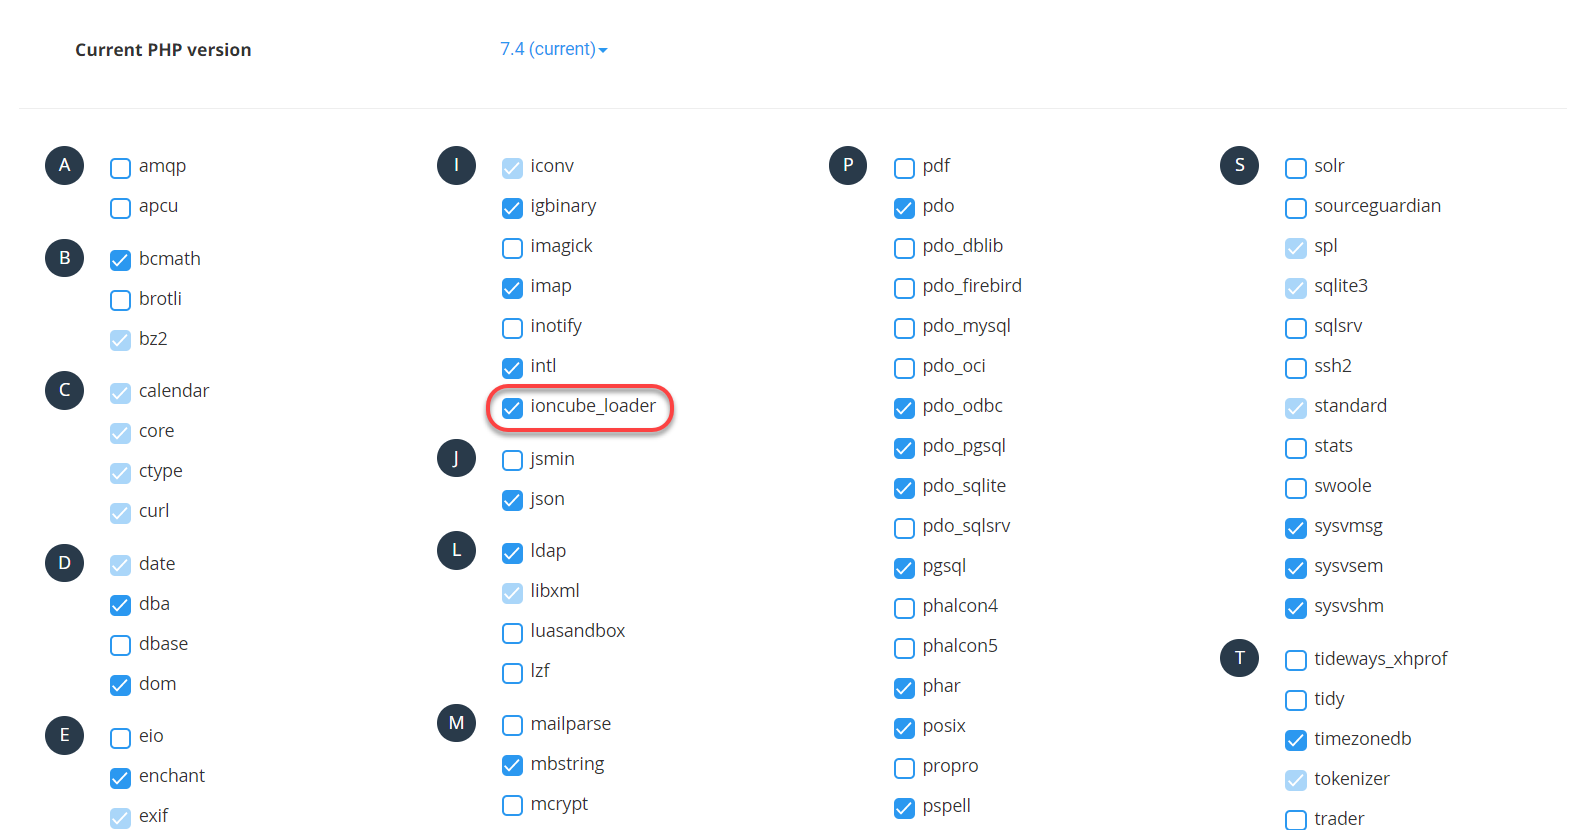
4. Scroll down and look for “ionCube Loader”
5. Enable the ionCube Loader by selecting the correct version of PHP and then clicking “Save”
6. Restart Apache for the changes to take effect
Note: If you do not have ionCube Loader available in your cPanel, you may need to contact your hosting provider to have it installed.
– VPS
To install ionCube Loader in a VPS (Virtual Private Server), follow these steps:
1. SSH into your VPS as the root user
2. Download the ionCube Loader package by running the following command:
wget https://downloads.ioncube.com/loader_downloads/ioncube_loaders_lin_x86-64.tar.gz
3. Extract the tar archive using the following command:
tar xvfz ioncube_loaders_lin_x86-64.tar.gz
4. Change to the ionCube Loader directory using the following command:
cd ioncube
5. Find the ionCube Loader version that matches your PHP version using the following command:
php -v
6. Copy the ionCube Loader to your PHP extension directory using the following command:
cp ioncube_loader_lin_7.4.so /usr/lib64/php7.4/modules/
(Replace “7.4” with your actual PHP version)
7. Update the PHP configuration file to include the ionCube Loader extension by adding the following line to your php.ini file:
zend_extension = /usr/lib64/php7.4/modules/ioncube_loader_lin_7.4.so
(Replace “7.4” with your actual PHP version)
8. Restart Apache for the changes to take effect using the following command:
systemctl restart httpd
Note: The steps outlined above are for a Linux VPS running Apache. If you are running a different operating system or web server, the steps may be different.